An information dashboard is a way to visualize and share information within a team about things that are important. You can setup a big monitor showing live updates about build statuses, open jira issues, a sprint burndown graph, the health of your applications on production, and so on. Having this information visible is a way to keep it on the back of your head (out of sight, out of mind). It also shows to people outside your team what matters to you.
In the weekend, I was looking into an open source dashboard called smashing. The curse of open source is strong with this one as well. It is a fork of a dashboard called dashing, by Shopify, which is no longer maintained. As it’s written in Ruby, it has the obligatory nodeJS clone, which in turn also seems neglected (and for the nodeJS ecosystem, a few months of neglect are equal to cold death in deep space). But the smashing dashboard seems maintained, so I decided to give it a go, even though my Ruby is not my strong point.
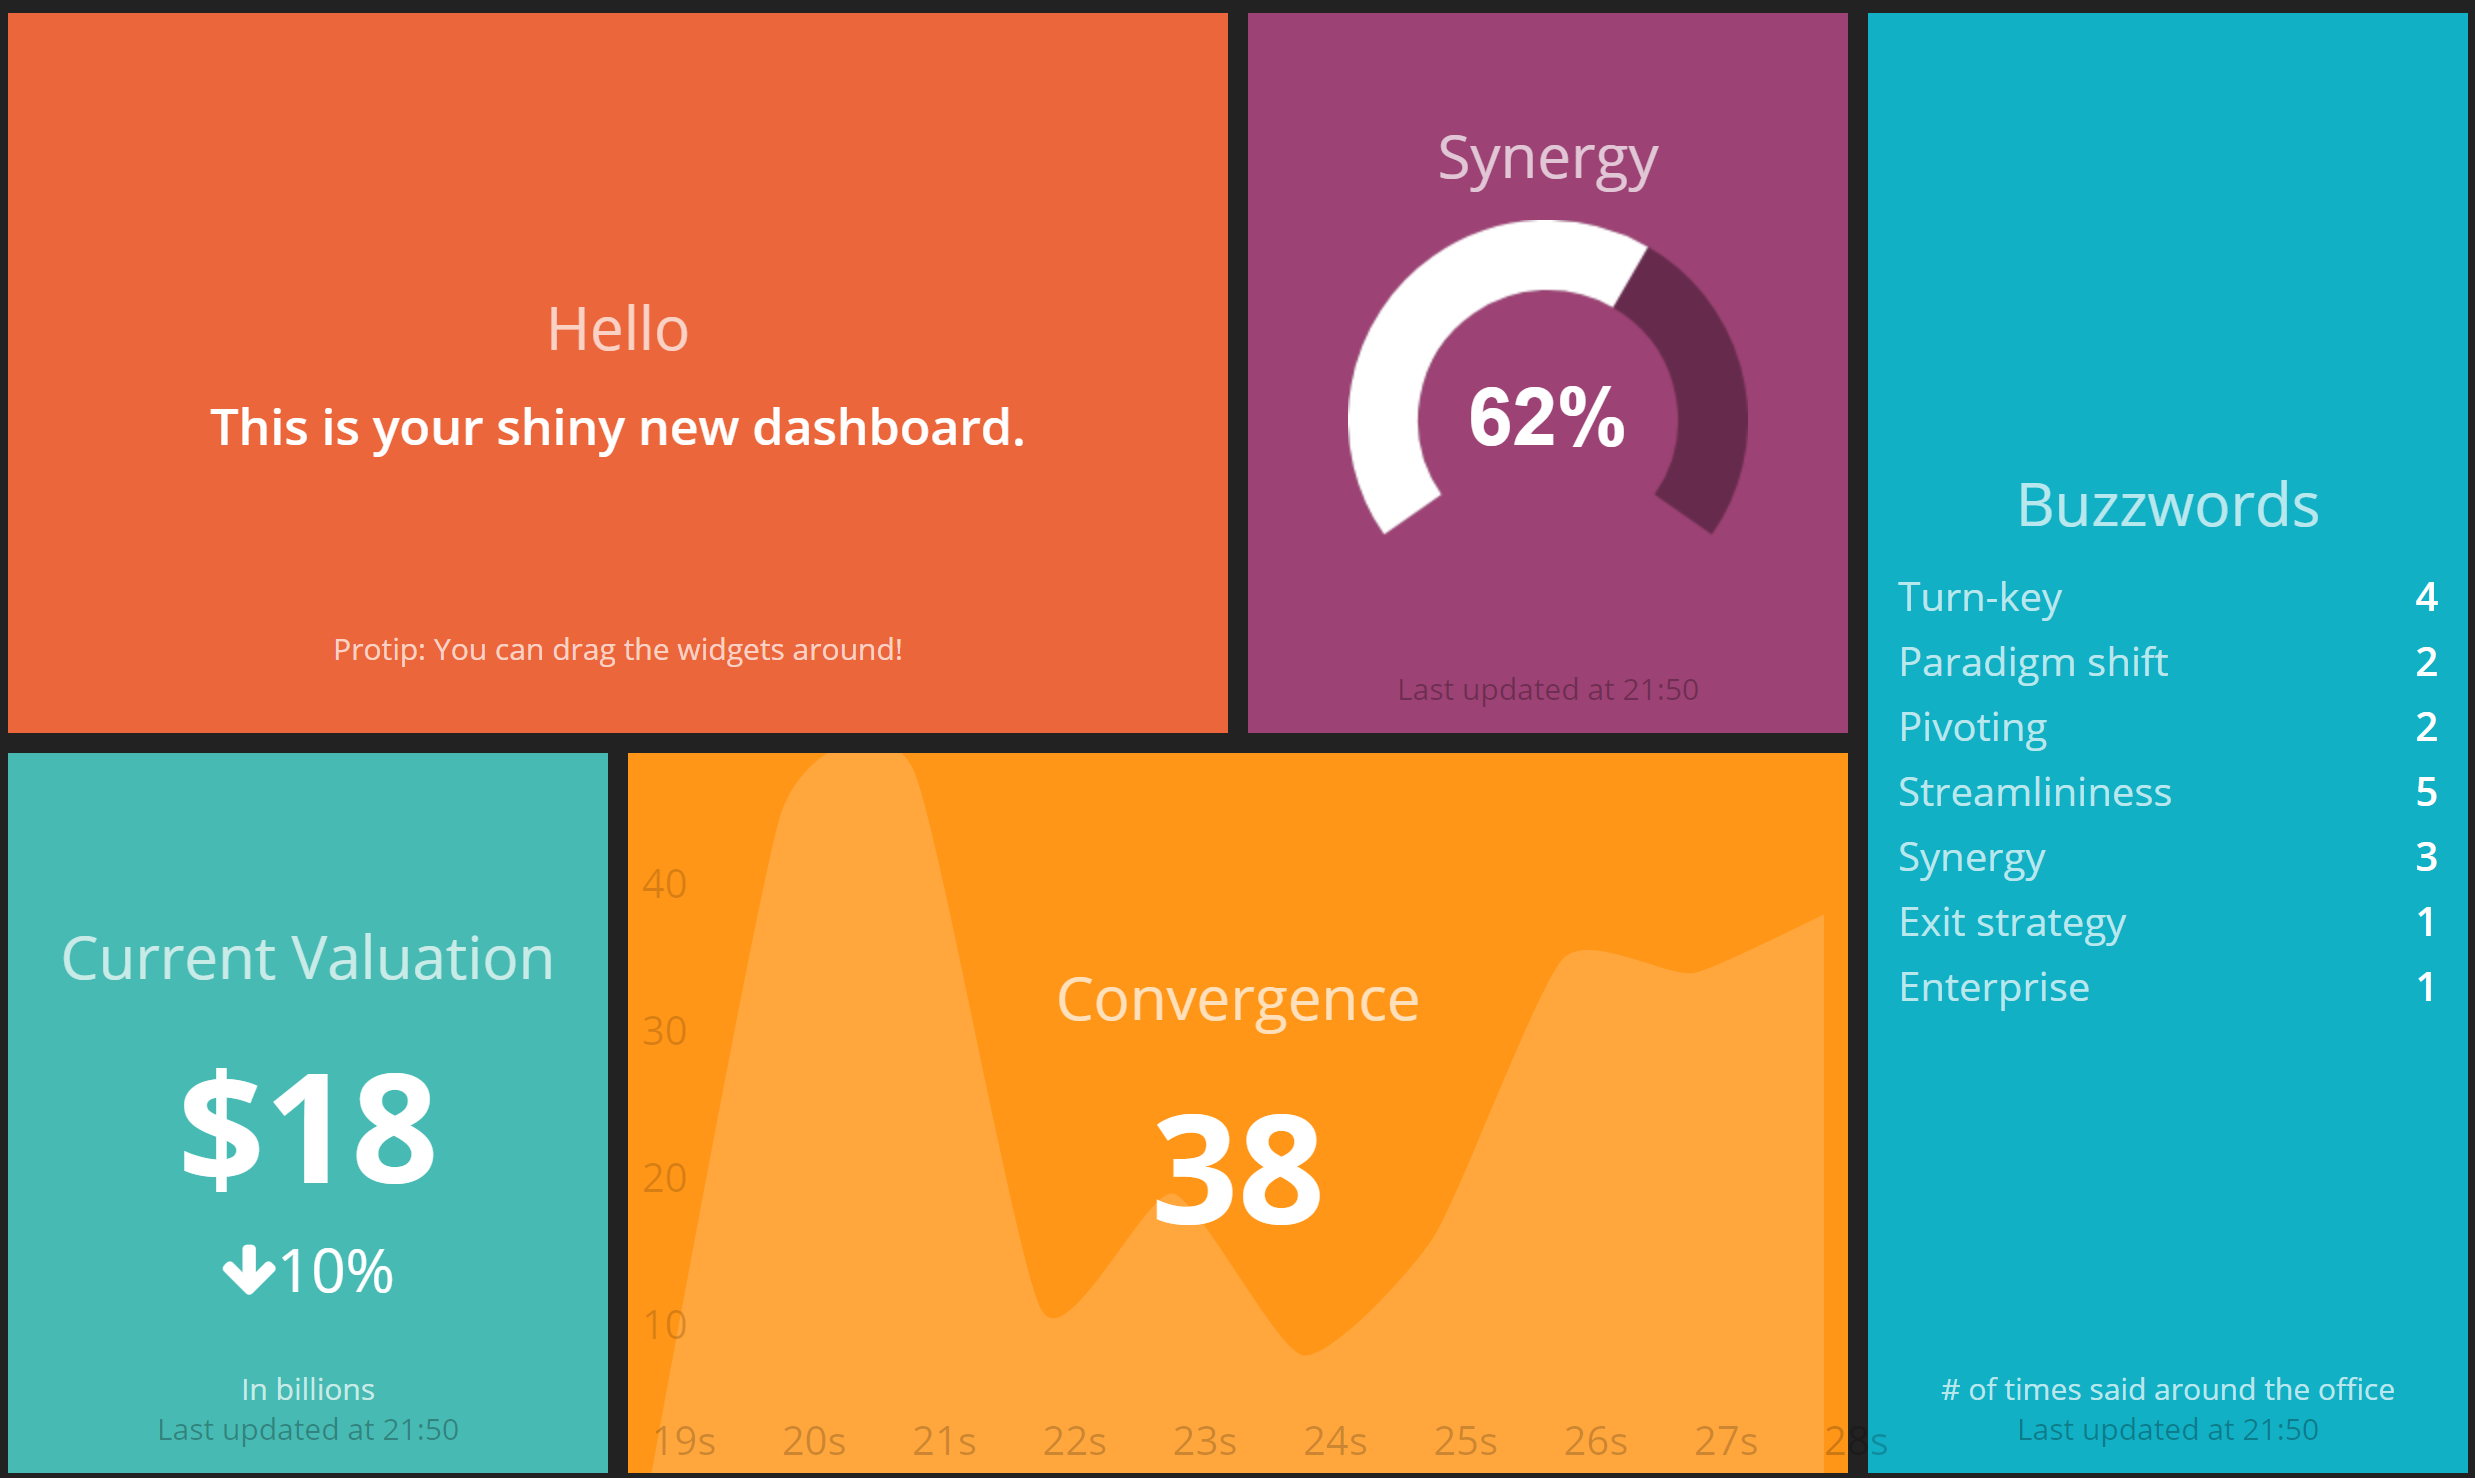
To get started with smashing, you’ll need Ruby. Install the bundler and smashing gems (just follow the instructions on its homepage). For Windows, I experienced that I needed nodeJS to be installed as well, your mileage might vary. The smashing gem provides a CLI to create a new dashboard project. That’s done with smashing new mydashboard. Run bundle inside the newly created mydashboard folder to install your dependencies. Finally, run smashing start to start the dashboard. It’s available on port 3030 and looks pretty spiffy out of the box:
What’s even nicer is how simple the codebase is and how easy it is to start working on your own widgets. I wanted to create a widget which will show the build status of certain TeamCity builds. There are already a few dashing widgets available for that, but, again the curse of the open source strikes. Abandoned widgets, depending on abandoned gems that wrap the TeamCity REST API (I counted 3 or 4 different gems, all targeting old TeamCity versions). The other reason for this curse is that it’s quite easy to implement such a widget in a few lines of code, instead of diving into other people’s abandonware (which is what I did as well).
The anatomy of building a smashing widget that fetches information from a REST API is this:
- you need a backend job that runs on a schedule, calls some REST APIs, parses some JSON response and, here's the glue bit, pushes the results to the frontend of the dashboard
- you need a frontend widget to visualize the awesome information the backend job sends. The widget is made up of HTML, SASS and CoffeeScript.
This is a stripped-down version of my TeamCity job, in which the build_url is supposed to be the TeamCity REST URL and widget_id is the ID of the widget that will receive the data (I’ve skipped the configuration part where I initialize these variables):
require 'rest-client'
require 'json'

# :first_in sets how long it takes before the job is first run. In this case, it is run immediately
SCHEDULER.every '1m', :first_in => 0 do |job|
begin
  response = RestClient.get build_url, { accept: :json }
  data = JSON.parse(response.body)
  send_event(widget_id, {
    number: data["build"][0]["number"],
    status: data["build"][0]["status"]
  })
rescue RestClient::ExceptionWithResponse => e
  puts e.response
  send_event(build_id, {
    number: '?',
    status: 'ERROR'
  })
end
and this is the widget’s HTML:
<h1 class="title" data-bind="title"></h1>
<h3 data-bind="text"></h3>
<p>Uptime: <span data-bind="uptime"></span></p>
<p>Version: <span data-bind="version"></span></p>
In order to use the widget, you need to place it in a dashboard:
<li data-row="1" data-col="1" data-sizex="1" data-sizey="1">
  <div
    data-id="BuzzStats_BuzzStats"
    data-view="TeamCityMaster"
    data-title="BuzzStats"
    data-text="BuzzStats Commit Stage"></div>
</li>
The pieces of the puzzle fit together here. The data-id attribute is the widget’s ID, so the job must use the same to publish data. The data-view attribute needs to map to the widget definition.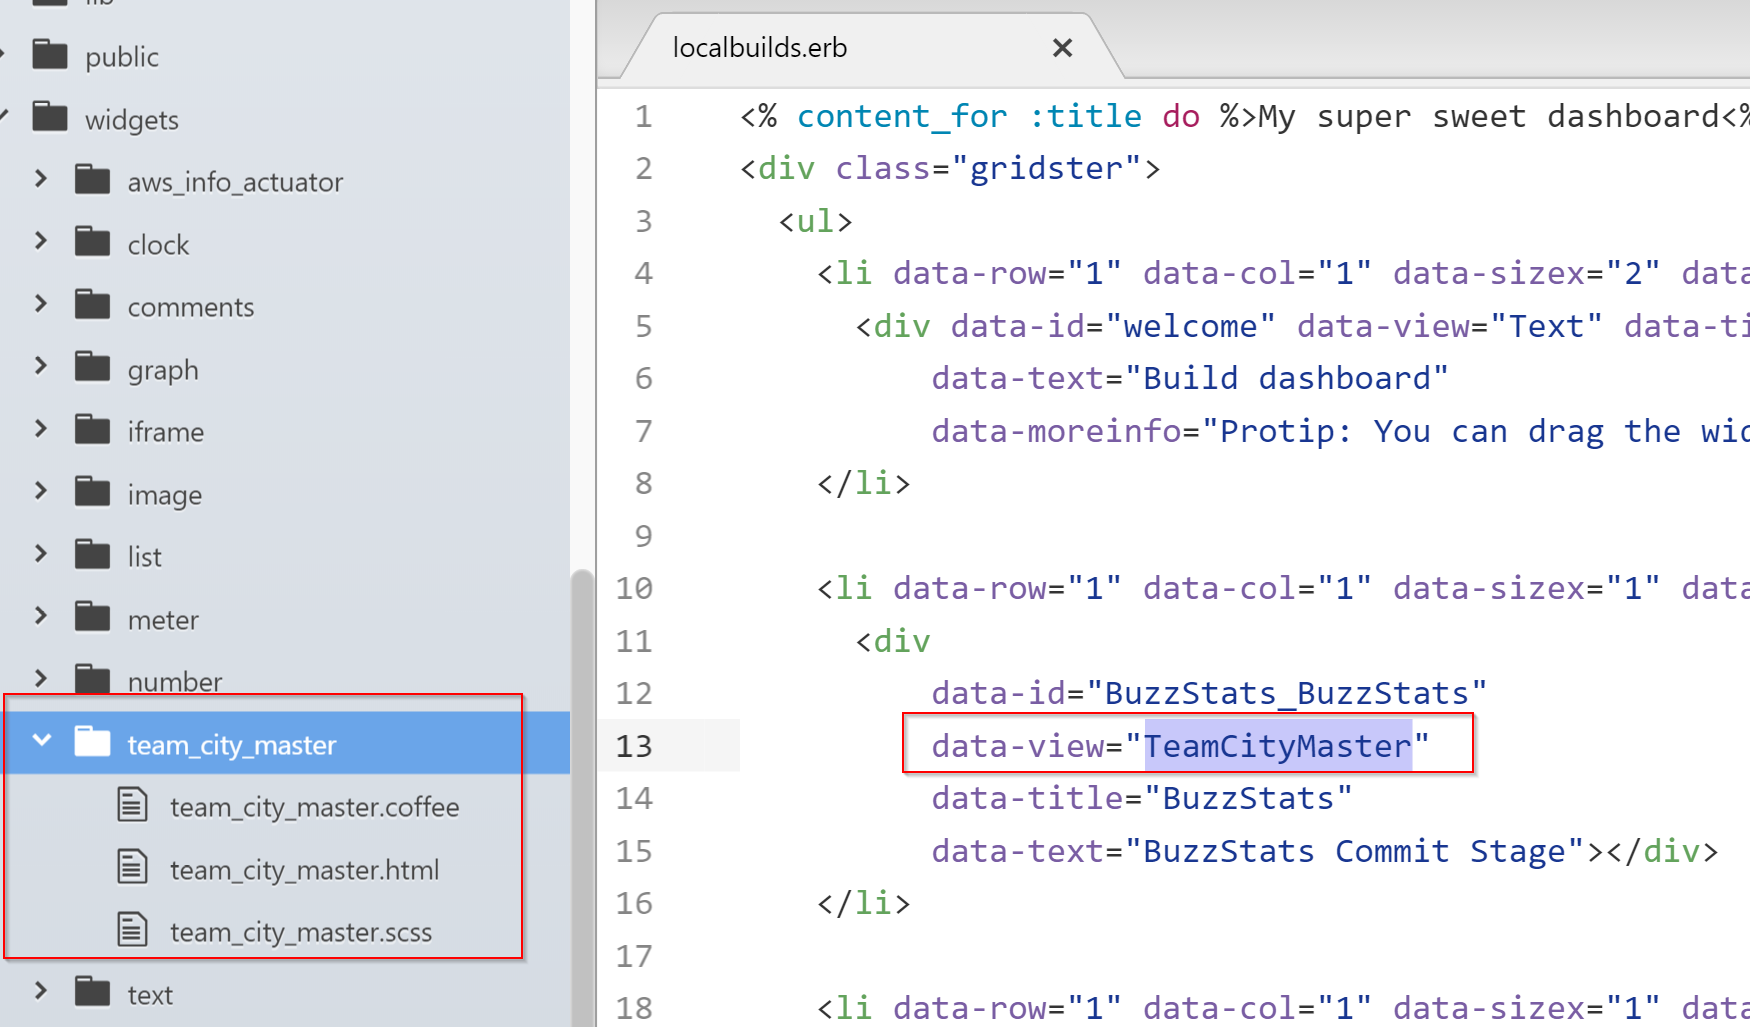
I really liked working with smashing, because it has a good architecture defined, separating jobs, widgets and dashboards. The fact that it comes with a hello world project gives you also example code to study and learn by example.
My humble dashboard with two TeamCity builds looks like this:
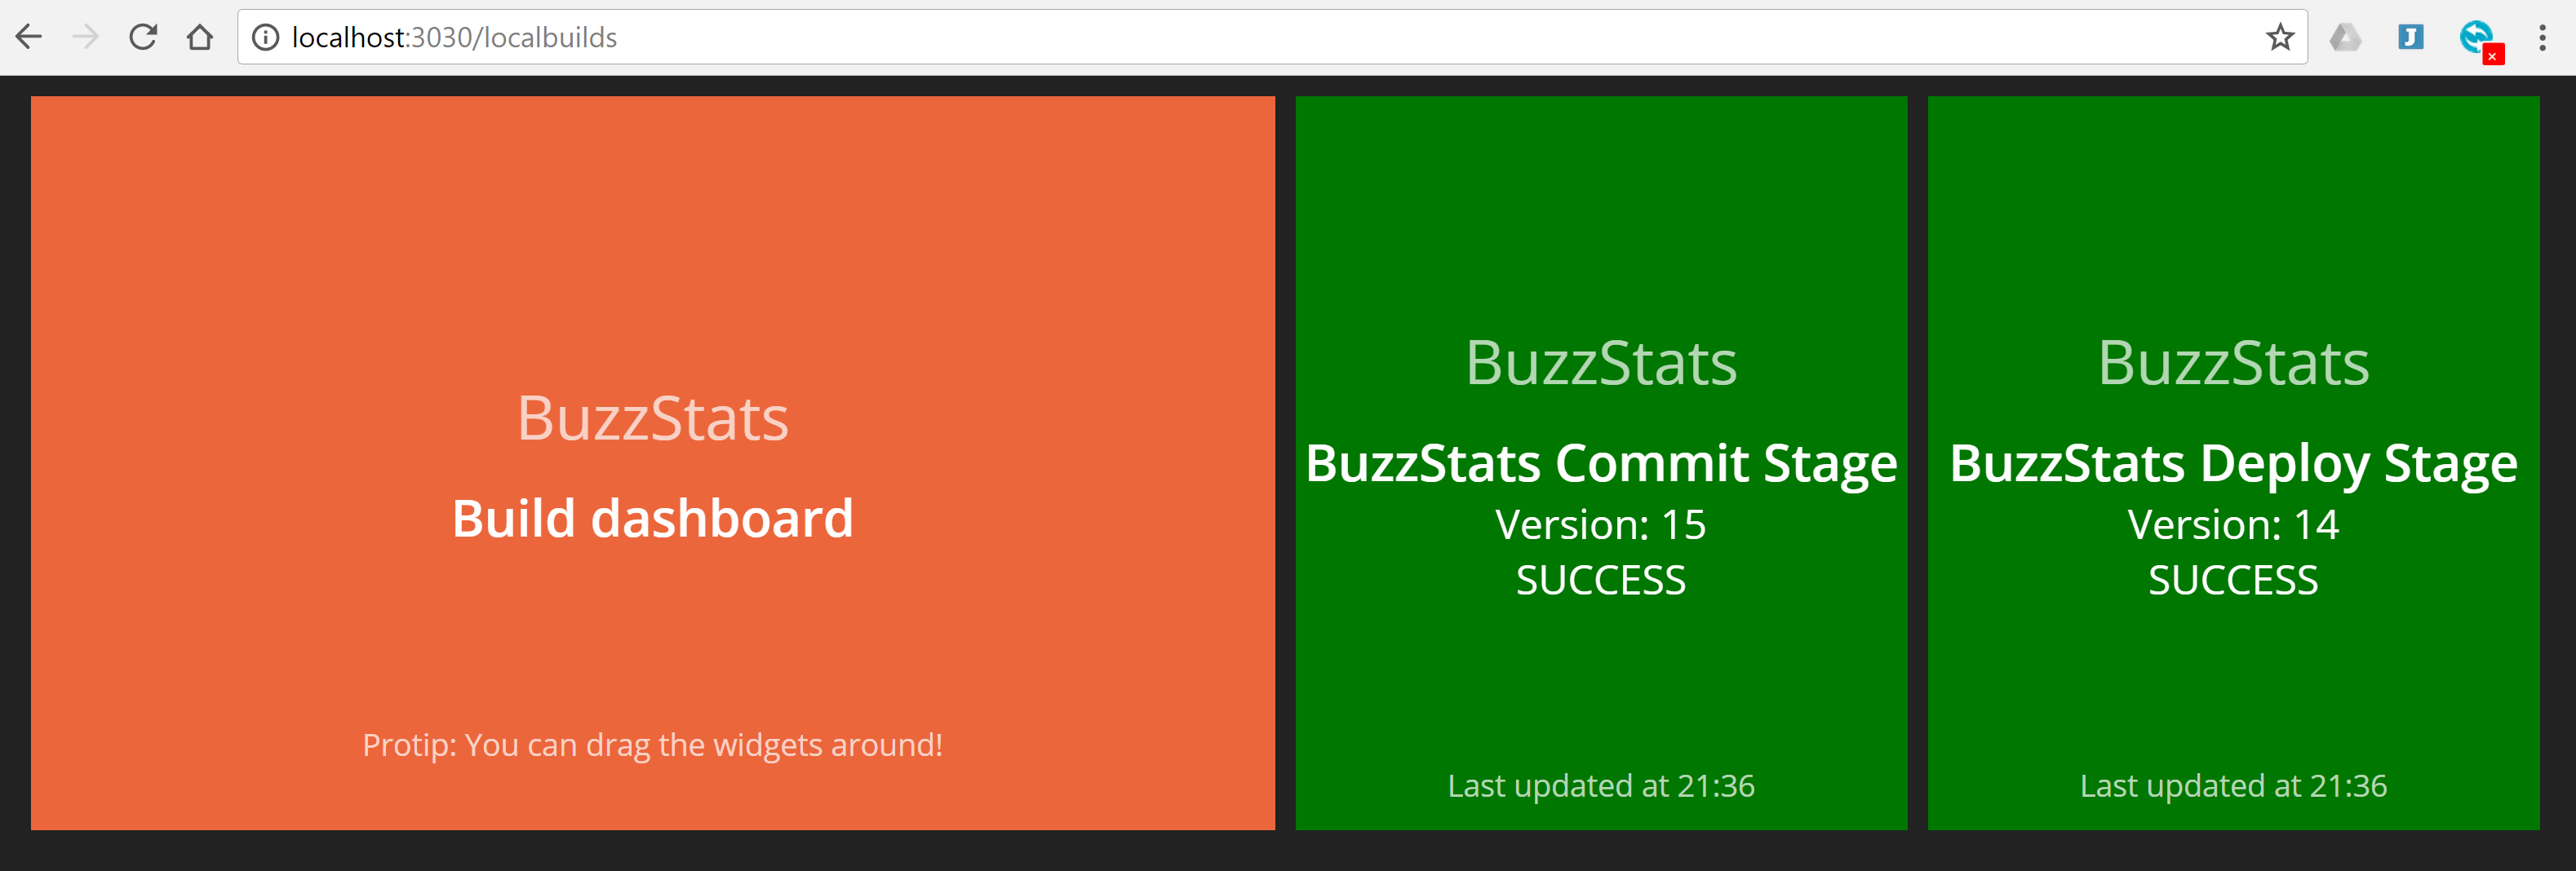
and, as they say, it works on my machine.